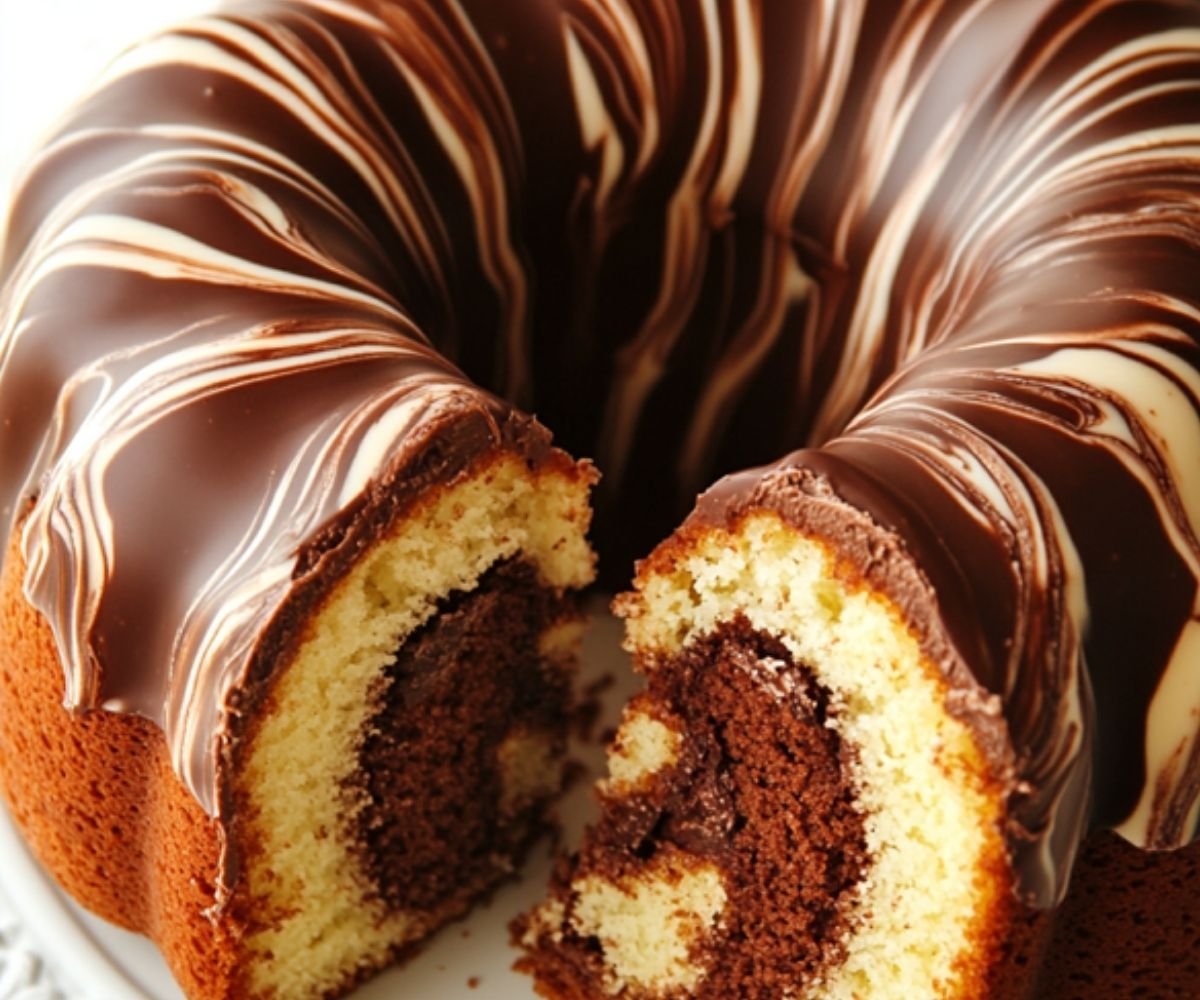
This cake is a delightful mix of rich chocolate and fluffy vanilla swirled together in a beautiful ring shape that makes it a showstopper at any gathering.
Introduction
The Marbled Chocolate Ring Cake is one of my favorite recipes to make when I’m craving something both elegant and delicious. There’s just something magical about the way the chocolate and vanilla flavors swirl together in this soft, moist cake. The combination of dark and milk chocolate frosting on top adds the perfect finishing touch, making it irresistible. Whether you’re serving it for a special occasion or just a treat for yourself, this cake never disappoints!
Ingredients
For the cake:
- 1 cup (225g) salted butter, softened
- 1¾ cups (225g) all-purpose flour
- 1 cup + 2 tbsp (225g) granulated sugar
- 4 large eggs
- 1 tbsp baking powder
- ½ tsp salt
- 1½ tbsp cocoa powder
- 1½ tbsp boiling water
For the frosting:
- 5 oz (150g) dark chocolate, broken into pieces
- 2 oz (55g) Belgian milk chocolate, broken into pieces
- ½ cup (115g) salted butter
Instructions
- Start by preheating your oven to 350°F (175°C). Grease and flour a ring cake pan to ensure the cake won’t stick.
- In a large bowl, cream the softened butter and sugar together until the mixture is light and fluffy. I typically use an electric mixer for this, but you can mix it by hand as well—just ensure it becomes smooth and creamy.
- Add the eggs one at a time, mixing well after each addition. This step ensures the eggs are fully incorporated into the batter.
- In another bowl, whisk together the flour, baking powder, and salt. Gradually add this dry mixture into the butter and sugar mixture, alternating with small splashes of milk until everything is combined and the batter is smooth.
- In a separate cup, mix the cocoa powder with the boiling water to form a smooth paste. Take half of the batter and stir in the cocoa paste to create a chocolate-flavored portion of the batter.
- Now, it’s time to marbled the two batters! Spoon alternating dollops of the vanilla and chocolate batter into the ring pan, and then gently swirl them together with a knife or spatula to create the marble effect.
- Bake for 30-35 minutes, or until a toothpick inserted into the center comes out clean. Let the cake cool in the pan for a few minutes before transferring it to a wire rack to cool completely.
- While the cake is cooling, prepare the frosting. In a small saucepan, melt the dark chocolate, milk chocolate, and butter together over low heat, stirring frequently until everything is smooth and glossy.
- Once the cake is fully cooled, pour the chocolate frosting over the top, allowing it to drip down the sides for a messy, beautiful look. If you like, you can spread it evenly with a spatula to cover the entire top.
Recipe Tips:
- Use room temperature butter and eggs for a smoother batter and fluffier cake.
- Mix the batter just until combined to avoid a dense cake.
- Spoon the vanilla and chocolate batters randomly for a beautiful marbled effect.Adjust
- frosting thickness by adding milk if it’s too thick, or chilling if too runny.
- Switch up the frosting with white or milk chocolate for a different flavor.
- Store the cake in an airtight container to keep it fresh for several days.
- Enhance the cake with chopped nuts or chocolate chips for added texture.
Marbled Chocolate Ring Cake
Ingredients
Method
- Start by preheating your oven to 350°F (175°C). Grease and flour a ring cake pan to ensure the cake won’t stick.
- In a large bowl, cream the softened butter and sugar together until the mixture is light and fluffy. I typically use an electric mixer for this, but you can mix it by hand as well—just ensure it becomes smooth and creamy.
- Add the eggs one at a time, mixing well after each addition. This step ensures the eggs are fully incorporated into the batter.
- In another bowl, whisk together the flour, baking powder, and salt. Gradually add this dry mixture into the butter and sugar mixture, alternating with small splashes of milk until everything is combined and the batter is smooth.
- In a separate cup, mix the cocoa powder with the boiling water to form a smooth paste. Take half of the batter and stir in the cocoa paste to create a chocolate-flavored portion of the batter.
- Now, it’s time to marbled the two batters! Spoon alternating dollops of the vanilla and chocolate batter into the ring pan, and then gently swirl them together with a knife or spatula to create the marble effect.
- Bake for 30-35 minutes, or until a toothpick inserted into the center comes out clean. Let the cake cool in the pan for a few minutes before transferring it to a wire rack to cool completely.
- While the cake is cooling, prepare the frosting. In a small saucepan, melt the dark chocolate, milk chocolate, and butter together over low heat, stirring frequently until everything is smooth and glossy.
- Once the cake is fully cooled, pour the chocolate frosting over the top, allowing it to drip down the sides for a messy, beautiful look. If you like, you can spread it evenly with a spatula to cover the entire top.
Notes
Recipe Tips:
- Use room temperature butter and eggs for a smoother batter and fluffier cake.
- Mix the batter just until combined to avoid a dense cake.
- Spoon the vanilla and chocolate batters randomly for a beautiful marbled effect.Adjust
- frosting thickness by adding milk if it’s too thick, or chilling if too runny.
- Switch up the frosting with white or milk chocolate for a different flavor.
- Store the cake in an airtight container to keep it fresh for several days.
- Enhance the cake with chopped nuts or chocolate chips for added texture.
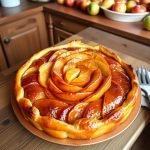
For a delightful dessert, don’t miss our How to Make Apple and Apricot Cake Mary Berry. It’s just as mouthwatering as our Marbled Chocolate Ring Cake Recipe!
Nutritional Value (Per Serving)
Calories: 460
Fat: 30g
Carbs: 51g
Protein: 5g
Fiber: 3g
Sugar: 36g
Conclusion
This Marbled Chocolate Ring Cake is the perfect balance of sweetness and decadence. The swirl of chocolate and vanilla creates an irresistible look and flavor that everyone will enjoy. It’s one of those cakes that looks impressive but is so simple to make. I promise, once you make it, you’ll be hooked on this beautiful, tasty treat! Enjoy every slice!