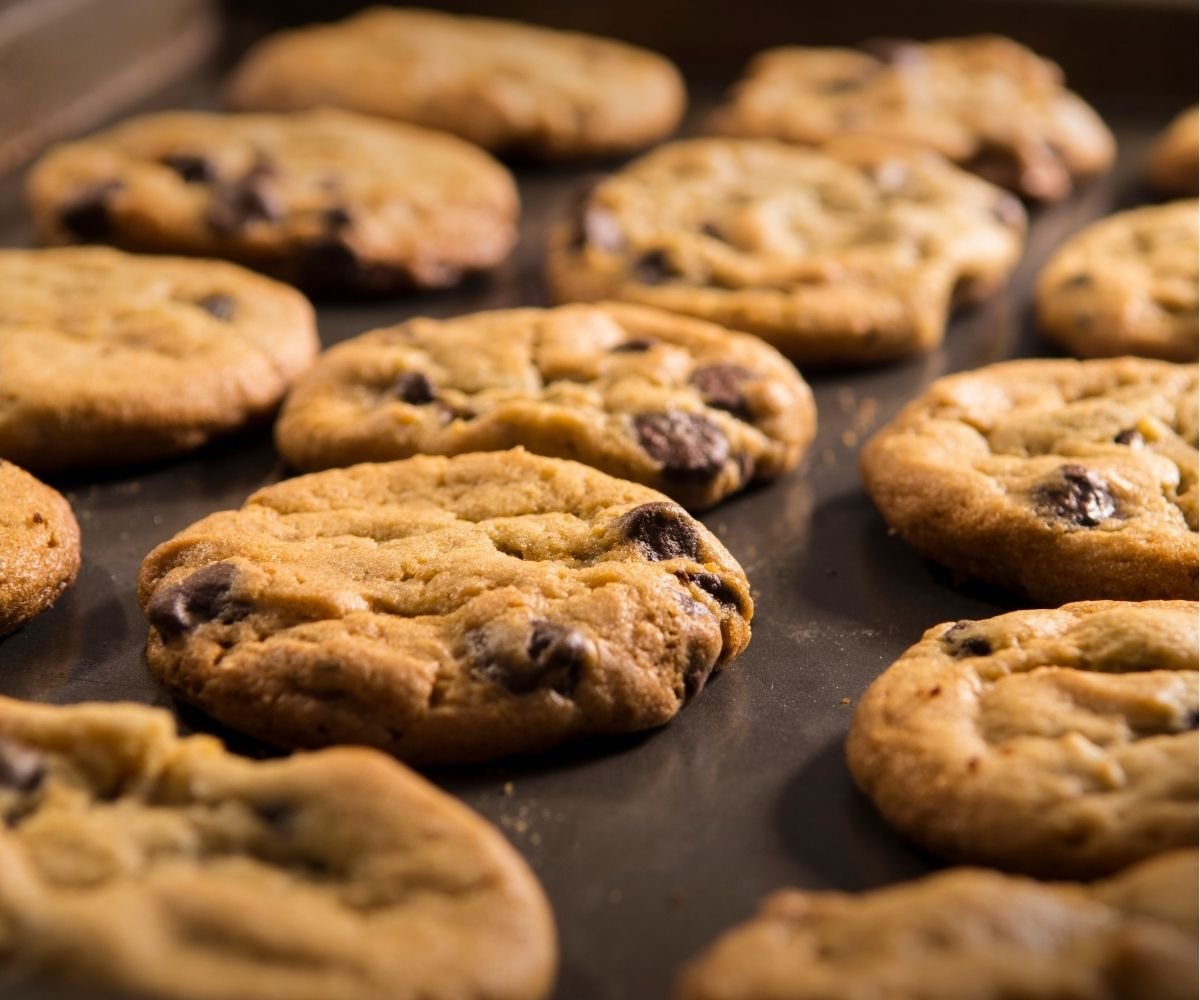
These chocolate chip cookies are soft in the middle and a little crisp on the edges. They’re my go-to treat when I want something warm, sweet, and homemade.
There’s something truly special about baking a batch of Mary Berry chocolate chip cookies. They’re not just any cookies—they’re soft in the center, golden at the edges, and packed with just the right amount of chocolate in every bite. Over the years, I’ve tried so many cookie recipes, but I always find myself coming back to this one.
Mary Berry’s recipes are known for their simplicity and reliability, and this cookie recipe is no different. It’s easy enough for a beginner but tastes like something you’d find in a bakery. These cookies come out just the way I like them—slightly crisp on the outside and beautifully gooey inside. Perfect for after-school snacks, cozy nights, or baking days with family. If you’ve never made them before, now’s the time to give these classic treats a go.
Ingredients
- 130g all-purpose flour (about 1 cup + 2 tbsp)
- 120g salted butter, softened (just over ½ cup)
- 80g granulated sugar (a little over 6 tbsp)
- 50g light muscovado sugar (about ¼ cup, packed)
- 1 extra-large egg, beaten
- ½ tsp vanilla extract
- 1¾ tsp baking powder
- ½ tsp salt
- 120g chocolate chips (roughly ⅔ cup)
Instructions
Step 1:
Preheat your oven to 350°F (175°C). Line a baking tray with parchment paper or lightly grease it.
Step 2:
In a large mixing bowl, beat the softened butter with both sugars. Mix until smooth and creamy. You can use a spoon, a whisk, or an electric mixer.
Step 3:
Add the beaten egg and vanilla. Stir it all together until the mixture looks fluffy and well-blended.
Step 4:
In another bowl, combine the flour, baking powder, and salt. Mix the dry stuff gently with a spoon.
Step 5:
Now add the dry ingredients into the wet mixture a bit at a time. Stir slowly so you don’t make a mess. When the dough starts to come together, add the chocolate chips and mix them in evenly.
Step 6:
Scoop out small spoonfuls of dough and place them on the baking tray. Leave space between each one—they spread as they bake.
Step 7:
Bake for 10–12 minutes until the edges look golden and the centers still feel soft. Don’t overbake; they’ll firm up as they cool.
Step 8:
Let the cookies rest on the tray for a few minutes, then move them to a wire rack to cool completely—or just eat one warm (I always do).
In the mood for something lighter and more classic? Check out my recipe for Mary Berry’s shortbread fork biscuits—buttery, crumbly, and perfect with tea!

Mary Berry Chocolate Chip Cookies
Ingredients
Method
- Preheat your oven to 350°F (175°C). Line a baking tray with parchment paper or lightly grease it.
- In a large mixing bowl, beat the softened butter with both sugars. Mix until smooth and creamy. You can use a spoon, a whisk, or an electric mixer.
- Add the beaten egg and vanilla. Stir it all together until the mixture looks fluffy and well-blended.
- In another bowl, combine the flour, baking powder, and salt. Mix the dry stuff gently with a spoon.
- Now add the dry ingredients into the wet mixture a bit at a time. Stir slowly so you don’t make a mess. When the dough starts to come together, add the chocolate chips and mix them in evenly.
- Scoop out small spoonfuls of dough and place them on the baking tray. Leave space between each one—they spread as they bake.
- Bake for 10–12 minutes until the edges look golden and the centers still feel soft. Don’t overbake; they’ll firm up as they cool.
- Let the cookies rest on the tray for a few minutes, then move them to a wire rack to cool completely—or just eat one warm (I always do).
Notes
Start with room-temperature butter. It mixes better and helps the cookies turn out soft. If the butter is too warm or melted, the cookies may spread too much. Chilling the dough for 20–30 minutes also helps control the spread and deepens the flavor. Always measure your flour carefully—too much makes cookies dry. Spoon it into the cup and level it off with a knife. And finally, don’t overbake. Take the cookies out when the edges are just golden, and the center still looks a bit soft. They’ll firm up as they cool.
Nutritional Value (Per Cookie, Approx.)
- Calories: 140 kcal
- Fat: 7g
- Sugar: 10g
- Carbohydrates: 17g
- Protein: 2g
- Fiber: 0.5g
Tips For The Perfect Cookie Texture
Start with room-temperature butter. It mixes better and helps the cookies turn out soft. If the butter is too warm or melted, the cookies may spread too much. Chilling the dough for 20–30 minutes also helps control the spread and deepens the flavor. Always measure your flour carefully—too much makes cookies dry. Spoon it into the cup and level it off with a knife. And finally, don’t overbake. Take the cookies out when the edges are just golden, and the center still looks a bit soft. They’ll firm up as they cool.
Conclusion
These chocolate chip cookies have been my baking buddy for years. They’re soft, gooey, and packed with sweet chocolate in every bite. You don’t need fancy tools or skills—just a bowl, some simple ingredients, and a little patience. Whether you’re baking for yourself or someone you love, these cookies always bring a smile. Try them once, and they might just become your favorite too.