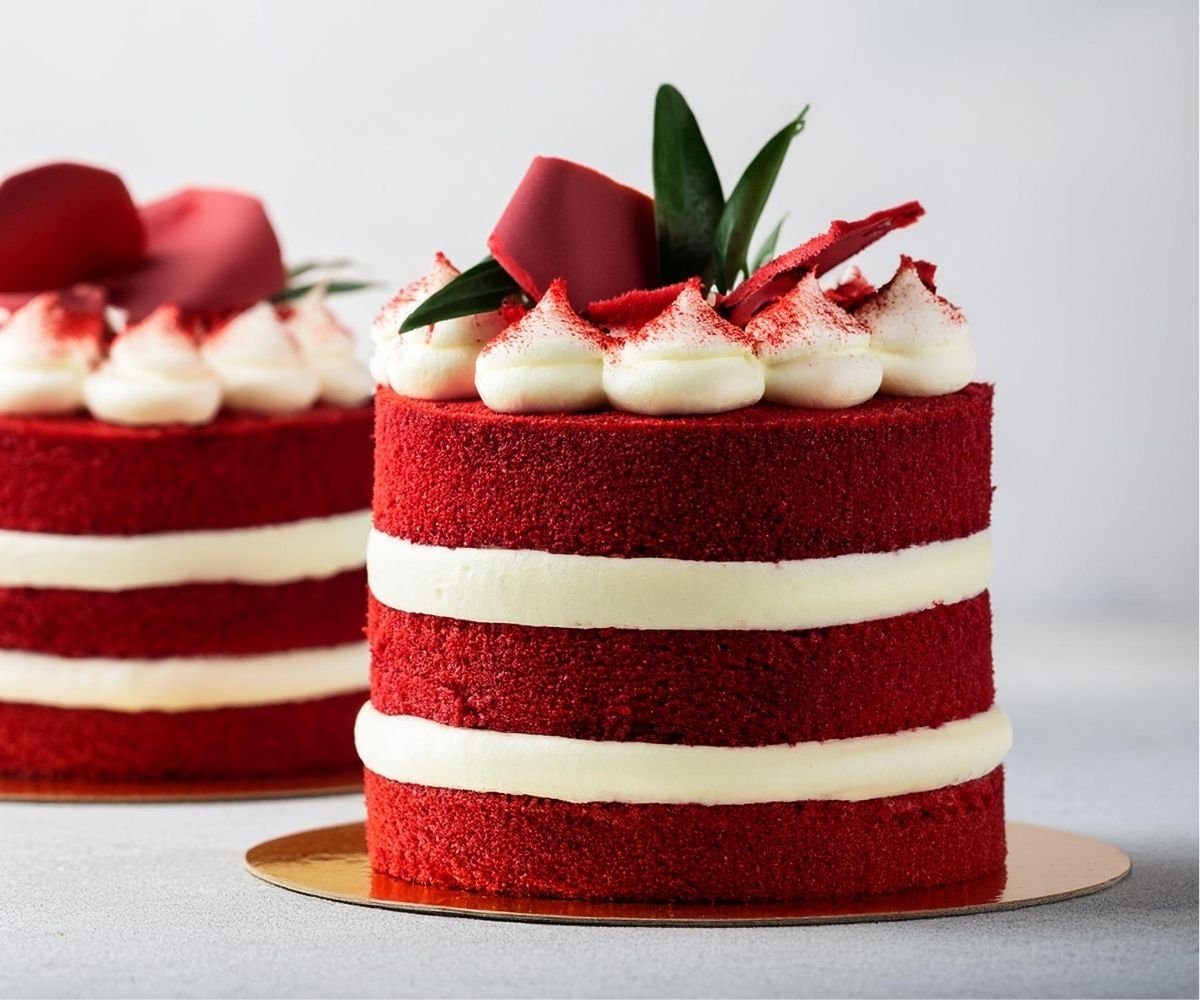
This cake is a perfect blend of soft, moist sponge and creamy frosting, making it a showstopper at any occasion. Its vibrant red color and rich flavor make it a true treat for the eyes and taste buds.
The moment I take my first bite of Mary Berry red velvet cake, I’m greeted with the rich, velvety texture that melts in my mouth. The deep red color is always a stunning sight, and the sweet, slightly tangy cream cheese frosting adds the perfect balance to the soft, cocoa-flavored sponge. I love the way the frosting smoothly coats each slice, with just the right amount of sweetness that doesn’t overpower the cake. Whenever I make this cake, it instantly becomes the centerpiece of any celebration, and the delicious aroma of freshly baked sponge fills my kitchen. There’s something magical about the combination of the moist cake and creamy frosting that never fails to make everyone smile.
Ingredients
For the Sponges:
- 1¼ cups (300ml) sunflower oil
- 4 cups (500g) all-purpose flour
- 4 tsps baking powder
- 1½ cups + 2 tbsp (400ml) buttermilk
- 2 tbsps cocoa powder
- 2 tbsps (30ml) red food coloring gel (or about ¼ tsp food coloring paste)
- 4 extra-large eggs
- 4 tsps vanilla extract
- 2⅔ cups (500g) light muscovado sugar
- 2 tsps baking soda
- 1 tsp salt
For the Frosting:
- 1½ cups + 1 tbsp (350g) full-fat cream cheese
- 1 tsp vanilla extract
- 6 cups (750g) confectioners’ sugar
- 1 cup + 2 tbsp (250g) butter, softened
Instructions
Preheat the oven: Start by preheating the oven to 350°F. Grease and line the bottoms of two 8-inch cake pans with parchment paper.
Prepare dry ingredients: Measure out half of the flour, cocoa powder, baking powder, baking soda, sugar, and salt into a bowl and mix them well.
Prepare wet ingredients: In a separate bowl, mix half of the buttermilk, oil, vanilla extract, food coloring, and ⅓ cup + 1 tablespoon (100ml) of water. Add the eggs and whisk everything until smooth. Pour the wet mixture into the dry ingredients and whisk until combined. The mixture should be a bright red color, which will darken a bit while baking. If the color isn’t as vivid as desired, add a little more food coloring.
Bake the cakes: Divide the cake mixture evenly between the two pans and level the tops. Bake for 25-30 minutes, or until the cakes rise and start to shrink away from the sides of the pan. A skewer should come out clean when inserted into the center. Let the cakes cool in the pans for about 10 minutes, then turn them out onto a wire rack, peel off the parchment paper, and allow them to cool completely.
Repeat with the remaining ingredients: Follow the same steps with the remaining ingredients to make the second batch of cake layers, ending up with four layers in total.
Make the frosting: To make the frosting, place the butter in a large bowl and sift in half of the confectioners’ sugar. Mash the mixture together with a spatula, then use an electric mixer to smooth it out. Add the cream cheese and vanilla extract, sift in the remaining sugar, and mash again before mixing everything together until smooth.
Assemble the cake: Place one cake layer on a cake stand or board, securing it with a bit of frosting. Spread about half of the frosting between the layers as the remaining cakes are stacked on top. Cover the entire cake with the remaining frosting, using an offset spatula to smooth it over the edges and fully cover the surface.
Mary Berry’S Red Velvet Cake
Ingredients
Method
- Start by preheating the oven to 350°F. Grease and line the bottoms of two 8-inch cake pans with parchment paper.
- Measure out half of the flour, cocoa powder, baking powder, baking soda, sugar, and salt into a bowl and mix them well.
- In a separate bowl, mix half of the buttermilk, oil, vanilla extract, food coloring, and ⅓ cup + 1 tablespoon (100ml) of water. Add the eggs and whisk everything until smooth. Pour the wet mixture into the dry ingredients and whisk until combined. The mixture should be a bright red color, which will darken a bit while baking. If the color isn't as vivid as desired, add a little more food coloring.
- Divide the cake mixture evenly between the two pans and level the tops. Bake for 25-30 minutes, or until the cakes rise and start to shrink away from the sides of the pan. A skewer should come out clean when inserted into the center. Let the cakes cool in the pans for about 10 minutes, then turn them out onto a wire rack, peel off the parchment paper, and allow them to cool completely.
- Follow the same steps with the remaining ingredients to make the second batch of cake layers, ending up with four layers in total.
- To make the frosting, place the butter in a large bowl and sift in half of the confectioners’ sugar. Mash the mixture together with a spatula, then use an electric mixer to smooth it out. Add the cream cheese and vanilla extract, sift in the remaining sugar, and mash again before mixing everything together until smooth.
- Place one cake layer on a cake stand or board, securing it with a bit of frosting. Spread about half of the frosting between the layers as the remaining cakes are stacked on top. Cover the entire cake with the remaining frosting, using an offset spatula to smooth it over the edges and fully cover the surface.
Notes
Pro Tips:
If you’re planning ahead, the sponge cakes can be made up to 3 days before you need them. Simply wrap them tightly in plastic wrap, and they will stay moist and fresh. If you want to prepare even further in advance, you can wrap the cakes well and freeze them for up to 2 months. When you’re ready to assemble your Mary Berry red velvet cake, just let the cakes thaw at room temperature before frosting. This way, you can save time on the day of your event without compromising on freshness or flavor!Pro Tips:&Nbsp;
If you’re planning ahead, the sponge cakes can be made up to 3 days before you need them. Simply wrap them tightly in plastic wrap, and they will stay moist and fresh. If you want to prepare even further in advance, you can wrap the cakes well and freeze them for up to 2 months. When you’re ready to assemble your Mary Berry red velvet cake, just let the cakes thaw at room temperature before frosting. This way, you can save time on the day of your event without compromising on freshness or flavor!
If you’re a fan of Mary Berry’s recipes, you might also love her Mary Berry Chocolate Roulade. It’s another indulgent treat that’s perfect for any celebration, offering a rich chocolate flavor and a light, airy texture. You can easily make both the Mary Berry Red Velvet Cake and Chocolate Roulade for an impressive dessert spread!
Nutritional Value (Per Serving):
- Calories: 450
- Fat: 24g
- Carbohydrates: 60g
- Protein: 4g
- Fiber: 2g
- Sugar: 40g
Conclusion
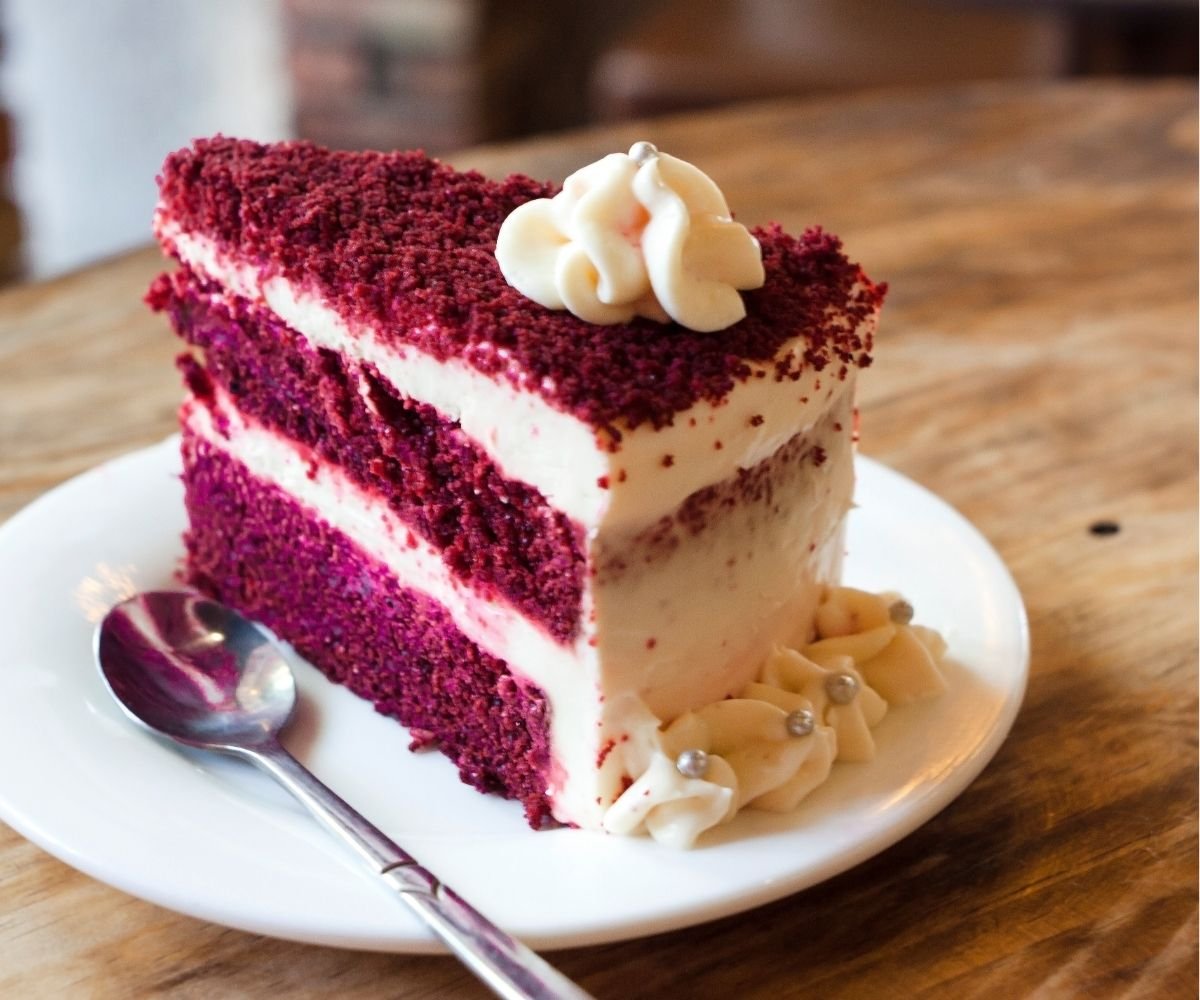
This Mary Berry red velvet cake is the perfect dessert for any occasion. It’s light, moist, and beautifully colored, with just the right amount of sweetness. The cream cheese frosting adds a rich tang that balances the cake’s sweetness perfectly. Whether it’s for a birthday or a celebration, this cake will definitely impress your guests!