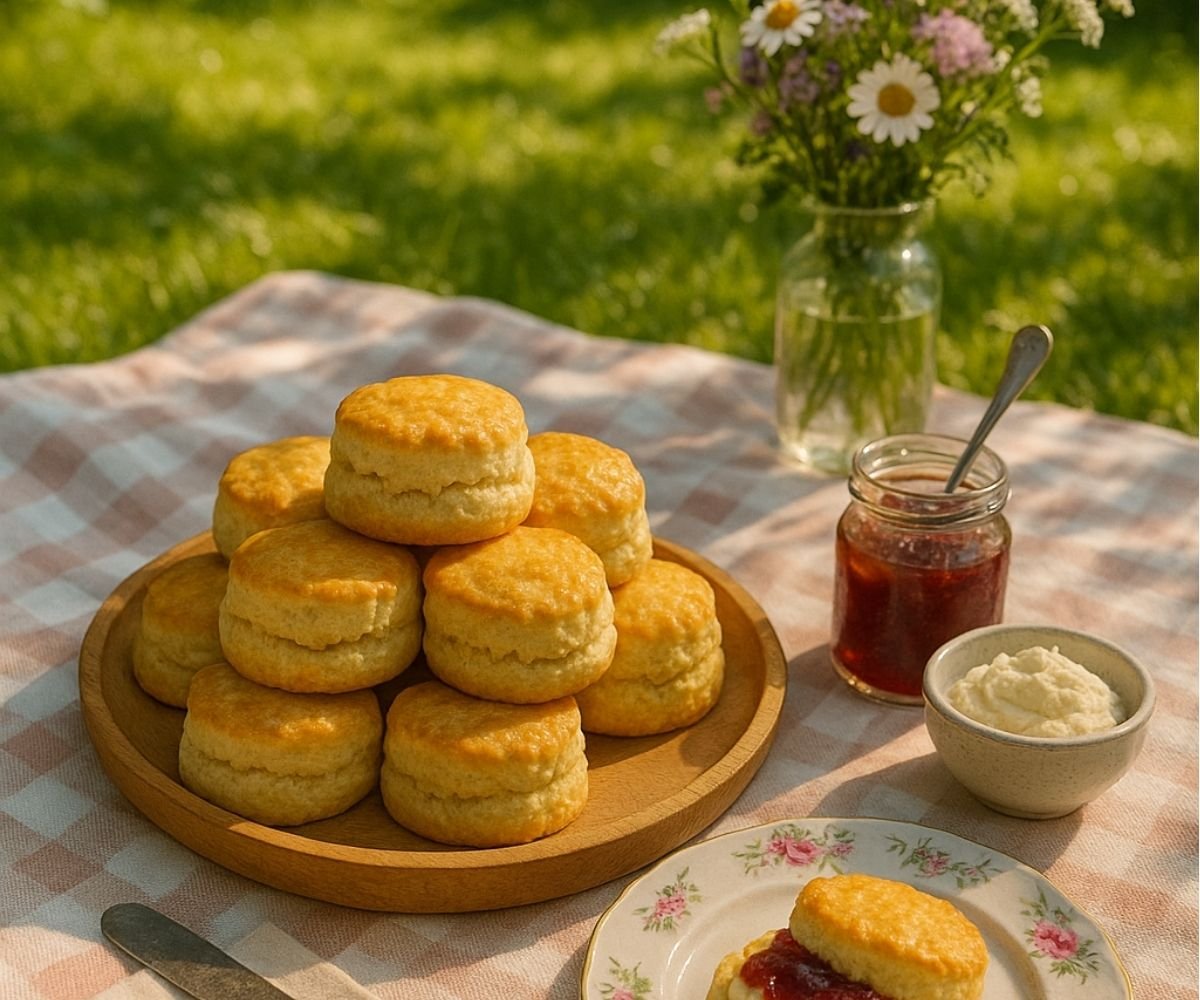
These Mary Berry scones are light, fluffy, and absolutely delicious. Perfect for afternoon tea, they are simple to make and will definitely impress your guests.
Now, let’s talk about scones—these little beauties are a classic for a reason! When I first tried Mary Berry’s scone recipe, I was hooked. The texture? Perfectly light and fluffy. The taste? Golden, buttery goodness. What I love about this recipe is that it’s straightforward, even for those just starting out in the kitchen, but the results? Absolutely fantastic.
Here’s the trick: the key to a great scone is in the technique. Don’t overmix your dough, and make sure you’re using cold butter—it’s a game changer for texture. Trust me, if you follow the steps, you’ll end up with scones that rival any bakery’s.
So, grab your ingredients, roll up your sleeves, and let’s make some scones that’ll have your friends and family asking for the recipe. Enjoy the process, and as always—have fun with it!
Ingredients
- 3 ½ cups (450g) all-purpose flour (plus extra for dusting)
- 1 tsp salt
- 2 ½ tbsp baking powder
- ¼ cup (55g) sugar
- 1 cup (225ml) milk
- 2 extra-large eggs
- ⅓ cup (75g) salted butter, softened
Instructions
- Preheat the oven to 425°F (220°C). Line a baking sheet with parchment paper or lightly dust it with flour.
- Mix the dry ingredients: In a large bowl, combine the all-purpose flour, salt, and baking powder. Stir these together until evenly mixed.
- Add the butter: Cut the softened butter into small chunks and add it to the flour mixture. Using your fingers or a pastry cutter, rub the butter into the flour until the mixture resembles breadcrumbs. This step is crucial for the scones to have that flaky texture.
- Add the sugar: Stir the sugar into the dry ingredients until it’s evenly distributed.
- Add the wet ingredients: Crack the eggs into a separate bowl and beat them lightly with a fork. Pour the eggs and milk into the dry mixture. Stir everything together gently using a spoon until it just comes together. The dough should be soft but not sticky. If it’s too dry, you can add a splash more milk.
- Shape the dough: On a lightly floured surface, gently pat the dough into a round shape, about 1-inch thick. Be careful not to overwork the dough – this can make your scones dense!
- Cut the scones: Using a round cutter, cut out scones from the dough. Gently press down to form the shape, but avoid twisting the cutter, as this can affect how they rise. Place the scones onto the prepared baking sheet.
- Bake: Pop the scones into the preheated oven and bake for about 12-15 minutes, or until they’re golden and have risen nicely. Don’t open the oven door too soon, or the scones might collapse!
- Cool and serve: Once they’re done, let the scones cool on a wire rack for a few minutes. Serve with jam and cream or butter, and enjoy!
If you enjoy Mary Berry scones, you might also like our hearty rock cakes recipe—both classic treats with rich flavors.

Mary Berry Scones
Ingredients
Method
- Preheat the oven to 425°F (220°C). Line a baking sheet with parchment paper or lightly dust it with flour.
- In a large bowl, combine the all-purpose flour, salt, and baking powder. Stir these together until evenly mixed.
- Cut the softened butter into small chunks and add it to the flour mixture. Using your fingers or a pastry cutter, rub the butter into the flour until the mixture resembles breadcrumbs. This step is crucial for the scones to have that flaky texture.
- Stir the sugar into the dry ingredients until it’s evenly distributed.
- Crack the eggs into a separate bowl and beat them lightly with a fork. Pour the eggs and milk into the dry mixture. Stir everything together gently using a spoon until it just comes together. The dough should be soft but not sticky. If it’s too dry, you can add a splash more milk.
- On a lightly floured surface, gently pat the dough into a round shape, about 1-inch thick. Be careful not to overwork the dough – this can make your scones dense!
- Using a round cutter, cut out scones from the dough. Gently press down to form the shape, but avoid twisting the cutter, as this can affect how they rise. Place the scones onto the prepared baking sheet.
- Pop the scones into the preheated oven and bake for about 12-15 minutes, or until they’re golden and have risen nicely. Don’t open the oven door too soon, or the scones might collapse!
- Once they’re done, let the scones cool on a wire rack for a few minutes. Serve with jam and cream or butter, and enjoy!
Notes
Pro Tips
- Use Cold Butter: For the best flaky texture, make sure the butter is cold when added to the flour mixture. This helps create those perfect, airy layers.
- Don’t Overwork the Dough: Handle the dough gently and avoid overmixing. Overworking the dough can lead to dense, heavy scones instead of light and fluffy ones.
- Add a Little Cream: Swap a bit of milk with heavy cream for richer, creamier scones. It’ll add extra flavor and softness to the texture.
- Check for Doneness: Keep an eye on your scones while they bake. Check for a golden color, and tap the bottom—if it sounds hollow, they’re ready. If not, bake for another minute or two.
- Brush with Egg Wash: For a shiny, golden finish, brush the tops of your scones with a little beaten egg or milk before baking.
- Let Them Cool: After baking, let your scones cool on a wire rack for a few minutes. This prevents them from becoming soggy and helps them maintain their shape.
- Serve with Jam and Clotted Cream: The classic combo! But don’t be afraid to get creative with other spreads like honey, lemon curd, or butter to elevate your scone experience.
Nutritional Value&Nbsp;
- Serving size: 1 scone
- Calories: 160 kcal
- Fat: 8g
- Carbohydrates: 20g
- Protein: 3.3g
- Sugar: 4.7g
Pro Tips
- Use Cold Butter: For the best flaky texture, make sure the butter is cold when added to the flour mixture. This helps create those perfect, airy layers.
- Don’t Overwork the Dough: Handle the dough gently and avoid overmixing. Overworking the dough can lead to dense, heavy scones instead of light and fluffy ones.
- Add a Little Cream: Swap a bit of milk with heavy cream for richer, creamier scones. It’ll add extra flavor and softness to the texture.
- Check for Doneness: Keep an eye on your scones while they bake. Check for a golden color, and tap the bottom—if it sounds hollow, they’re ready. If not, bake for another minute or two.
- Brush with Egg Wash: For a shiny, golden finish, brush the tops of your scones with a little beaten egg or milk before baking.
- Let Them Cool: After baking, let your scones cool on a wire rack for a few minutes. This prevents them from becoming soggy and helps them maintain their shape.
- Serve with Jam and Clotted Cream: The classic combo! But don’t be afraid to get creative with other spreads like honey, lemon curd, or butter to elevate your scone experience.
Conclusion
Baking Mary Berry scones is one of the easiest and most rewarding baking projects you can do. The result is a batch of fluffy, delicious scones that are perfect for any occasion. Whether you’re having a quiet afternoon or entertaining guests, these scones will definitely be a hit. I hope you enjoy making and eating them as much as I do!