

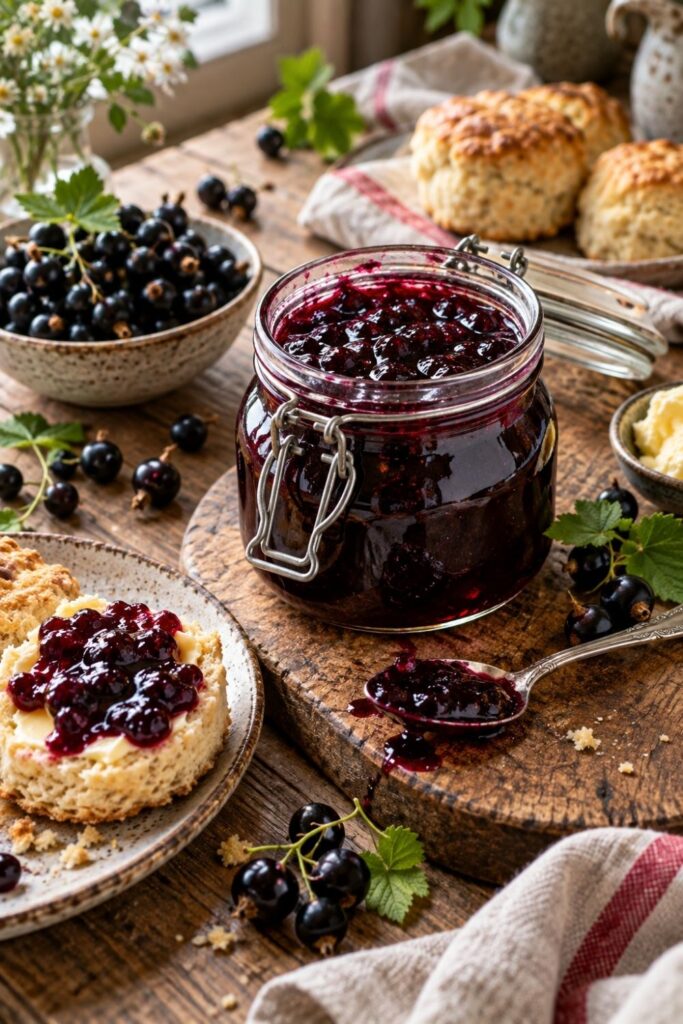
Blackcurrants are the main event in this simple preserve, giving the finished jam its deep fruit flavour and distinctive sharpness. This Mary Berry blackcurrant jam recipe uses only three ingredients, but the order in which you cook them matters if you want the fruit to soften properly and the sugar to dissolve evenly.
You begin by gently cooking the blackcurrants in water until the berries soften and start breaking down. Only then does the sugar go into the pan. After it has completely dissolved, the mixture is brought to a rapid boil until it reaches setting point.
The chilled-plate test gives you a clear way to judge the set without relying only on the clock. A final 10-minute rest before filling the jars also helps keep the softened fruit distributed through the jam instead of gathering in one area.
Here are the main reasons this straightforward method works so well.
- It uses just blackcurrants, water and sugar.
- The fruit is softened before the sugar is added, so you can concentrate on each stage separately.
- The chilled-plate test gives you a practical way to check the set.
- The jam only needs about 10 minutes at a rapid boil before you begin checking it.
- A 10-minute rest after cooking helps the fruit stay more evenly distributed.
What Makes This Blackcurrant Jam Work
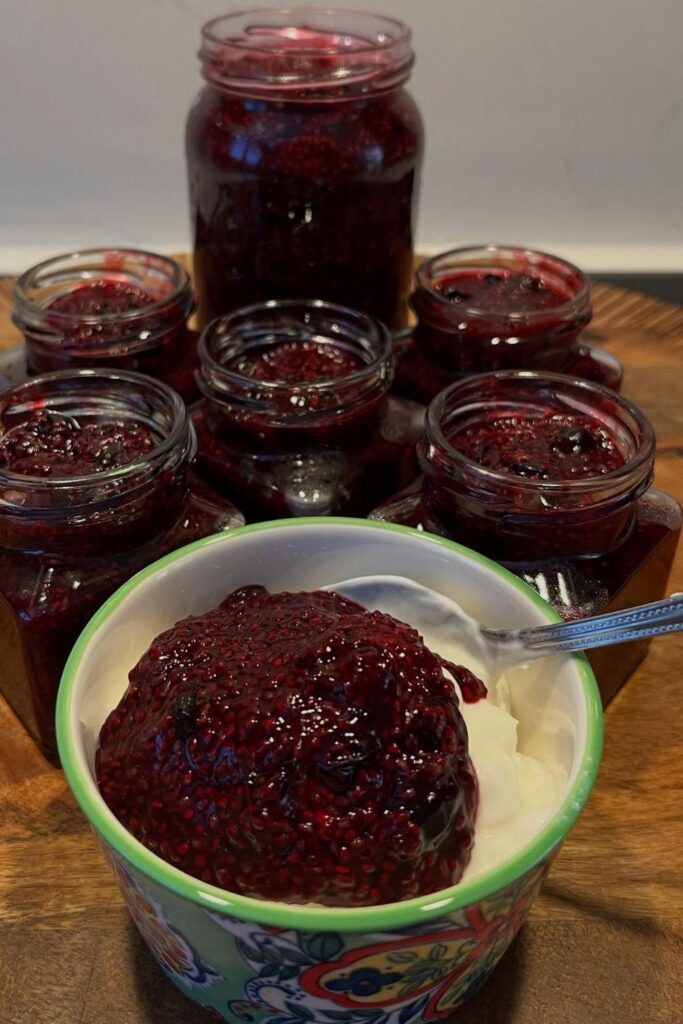
With such a short ingredient list, the cooking method carries much of the responsibility for the final result. The fruit, water and sugar are not simply placed in the pan together and boiled from the beginning.
The blackcurrants first cook with 750ml water for about 15 to 20 minutes. This gives the berries time to soften and begin breaking down before the large amount of sugar enters the mixture.
Once the fruit is soft, 1.3kg granulated sugar or jam sugar is stirred in over low heat. The goal at this stage isn’t to boil the jam quickly. You want the sugar fully dissolved before increasing the heat.
That separation between softening, dissolving and rapid boiling makes the process much easier to control.
These three ingredients each have a clear place in the method.
- Blackcurrants: They provide the fruit base and the strong, slightly sharp blackcurrant flavour that defines the finished jam.
- Water: It gives the blackcurrants enough liquid to simmer gently while they soften and begin to break down.
- Sugar: It sweetens the cooked fruit and is added only after the blackcurrants have softened. The recipe allows either granulated sugar or jam sugar.
Soften The Blackcurrants Before Adding Sugar
The first 15 to 20 minutes are important because this is when you develop the fruit base for the jam. Place the washed, destalked blackcurrants in a large preserving pan with the water, bring them gently to the boil, then lower the heat.
You aren’t trying to cook the jam to setting point yet. At this stage, you simply want the berries to simmer until they soften and start breaking down.
Watch the fruit rather than rushing to the next stage as soon as the minimum time has passed. The supplied method gives a 15 to 20 minute range because the useful cue is the condition of the berries. They should be visibly softer and beginning to lose their original shape.
Using a large preserving pan is also important. Jam rises and moves considerably once it reaches a rapid boil later in the recipe, so the extra room gives the mixture space to cook more safely.
Dissolve The Sugar Slowly Before The Rapid Boil
Once the blackcurrants are soft, add the sugar and keep the heat low while you stir. This stage deserves patience because the instructions specifically call for the sugar to be fully dissolved before you increase the heat.
Stir steadily so the sugar melts evenly into the softened fruit. The recipe notes also stress that good stirring at this point helps prevent the mixture from catching or burning.
Don’t treat this as part of the rapid-boiling stage. Keep the heat controlled while the sugar dissolves, then move to the stronger boil only once that job is complete.
This small change in pace is one of the clearest ways to make the whole process easier to manage. Gentle heat comes first for the sugar, followed by high heat for setting the jam.
How To Judge The Setting Point
After the sugar has completely dissolved, increase the heat and bring the mixture to a rapid boil. Let it boil for about 10 minutes, stirring occasionally.
The 10-minute timing gives you a useful guide, but the recipe specifically tells you to test the set rather than relying only on time. This is where a chilled plate becomes useful.
Put a spoonful of the hot jam onto the cold plate and leave it for a few seconds. Then gently push the surface with your finger. When the jam wrinkles, it has reached the required setting point.
If you are preparing the recipe from start to finish without interruption, it helps to have the plate chilled before you reach this stage. That way you can test the jam as soon as the rapid boil has been completed.
The important thing is to use the wrinkle test as the deciding cue. A timer can tell you how long the jam has boiled, but the chilled plate tells you when the supplied method considers it ready.
Why The 10-Minute Rest Matters
Once the jam has reached setting point, remove the preserving pan from the heat. Skim away any foam sitting on the surface, then resist the temptation to pour the jam into jars immediately.
The recipe calls for a 10-minute rest before jarring. This isn’t an empty waiting period. The supplied notes explain that resting helps the fruit spread more evenly through the mixture instead of floating.
Leave the pan undisturbed for the full 10 minutes, then fill the prepared jars.
This final pause also creates a natural break between boiling the jam and handling the hot preserve for jarring. Have your warm sterilised jars ready so you can move directly to filling and sealing once the resting time is finished.
Ingredients For Mary Berry Blackcurrant Jam Recipe
There are only three ingredients here, so it’s worth measuring everything before you begin. Pay particular attention to preparing the blackcurrants properly and measuring the water and sugar exactly as supplied.
The complete ingredient list is below.
- Blackcurrants: 1kg, washed and stalks removed
- Water: 750ml
- Granulated sugar or jam sugar: 1.3kg
How To Make Blackcurrant Jam
The process moves through six clear stages. Keep them in order, especially the slow dissolving stage before the rapid boil and the resting stage before you fill the jars.
Follow the method below without shortening the supplied cooking or resting times.
- Cook the blackcurrants until soft. Add the blackcurrants and 750ml water to a large preserving pan. Bring the mixture gently to the boil, lower it to a simmer, and cook for about 15–20 minutes. Continue until the fruit has softened and is beginning to break down.
- Dissolve the sugar over low heat. Add the 1.3kg granulated sugar or jam sugar to the softened fruit. Keep the heat low and stir until the sugar has completely dissolved, taking care that the mixture doesn’t stick.
- Bring the jam to a rapid boil. Increase the heat once the sugar has dissolved. Boil the mixture rapidly for about 10 minutes, giving it an occasional stir as it cooks toward setting point.
- Check the set on a chilled plate. Spoon a little jam onto the cold plate and wait a few seconds. Gently push it with your finger. If the surface wrinkles, the jam is ready.
- Skim and let the jam rest. Take the pan off the heat and remove any foam from the surface. Leave the jam standing for 10 minutes so the fruit can remain more evenly spread through the mixture.
- Fill and seal the jars. Carefully pour the hot jam into warm sterilised jars and seal them immediately. Leave the jars undisturbed until they are completely cold, then label them and keep them in a cool, dark place.
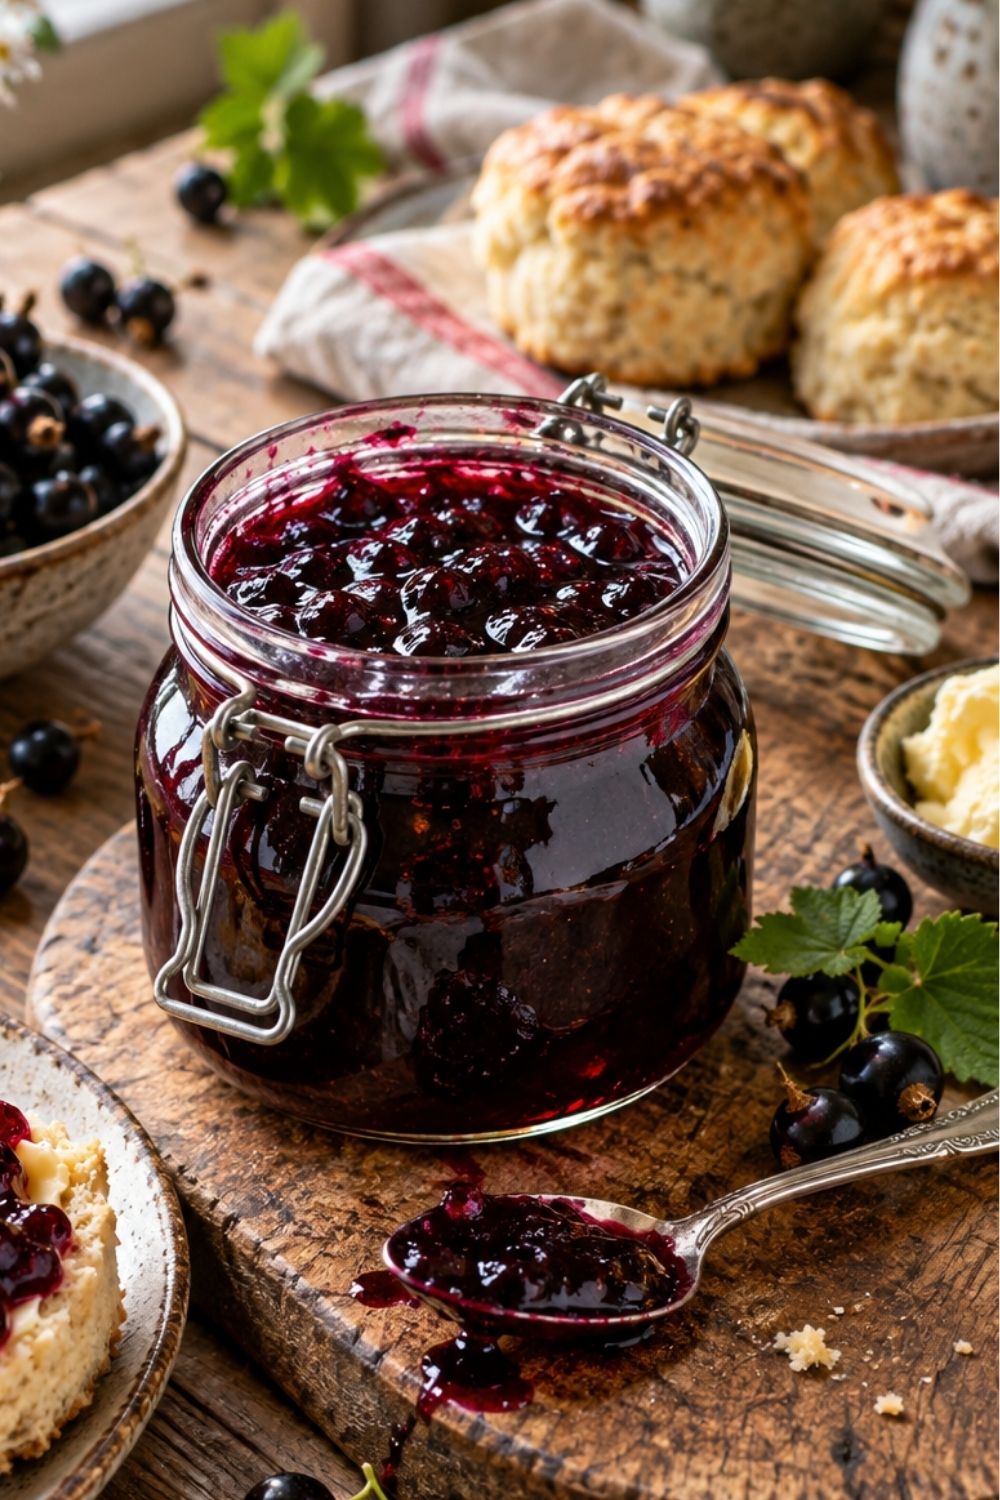
Easy Mary Berry Blackcurrant Jam Recipe
Ingredients
Method
- Cook the blackcurrants until soft. Add the blackcurrants and 750ml water to a large preserving pan. Bring the mixture gently to the boil, lower it to a simmer, and cook for about 15–20 minutes. Continue until the fruit has softened and is beginning to break down.
- Dissolve the sugar over low heat. Add the 1.3kg granulated sugar or jam sugar to the softened fruit. Keep the heat low and stir until the sugar has completely dissolved, taking care that the mixture doesn’t stick.
- Bring the jam to a rapid boil. Increase the heat once the sugar has dissolved. Boil the mixture rapidly for about 10 minutes, giving it an occasional stir as it cooks toward setting point.
- Check the set on a chilled plate. Spoon a little jam onto the cold plate and wait a few seconds. Gently push it with your finger. If the surface wrinkles, the jam is ready.
- Skim and let the jam rest. Take the pan off the heat and remove any foam from the surface. Leave the jam standing for 10 minutes so the fruit can remain more evenly spread through the mixture.
- Fill and seal the jars. Carefully pour the hot jam into warm sterilised jars and seal them immediately. Leave the jars undisturbed until they are completely cold, then label them and keep them in a cool, dark place.
Small Details That Make The Method Easier
Because the recipe has so few ingredients, most potential problems come from handling rather than from complicated preparation. A few details from the supplied notes are especially worth keeping in mind.
Start with a large pan. The jam needs enough room for the rapid-boiling stage, and using an undersized pan makes that stage harder to manage.
Take your time when dissolving the sugar. Keep the heat low and stir properly instead of trying to move immediately into the rapid boil. This is also the stage where careful stirring helps prevent burning.
Prepare the chilled plate before you need it. The set test is the recipe’s practical check for readiness, so you don’t want to be searching for a cold plate while the jam is already boiling.
Have the jars sterilised and warm before the jam finishes resting. Once the 10-minute rest is complete, the method moves directly to filling and sealing.
Finally, don’t skip that resting stage. The notes specifically link it to keeping the fruit from floating, which means the short pause affects how evenly the blackcurrants are distributed in the finished preserve.
Frequently Asked Questions
Can I use jam sugar instead of granulated sugar?
Yes. The ingredient list gives you the choice of 1.3kg granulated sugar or jam sugar. Keep the quantity exactly the same whichever of the two you use.
How do I know when blackcurrant jam has reached setting point?
Use the chilled-plate test from the method. Put a spoonful of jam on a cold plate, leave it for a few seconds, then push it gently with your finger. The jam is ready when the surface wrinkles.
Why does the sugar need to dissolve before the jam boils rapidly?
The instructions separate these two stages deliberately. You first stir the sugar into the softened fruit over low heat until it is fully dissolved. Only after that do you increase the heat for the rapid boil. Careful stirring during the dissolving stage also helps prevent sticking and burning.
Why should the jam rest for 10 minutes before going into jars?
The supplied recipe notes explain that the 10-minute rest helps stop the fruit from floating and allows it to spread more evenly through the jam. Skim away any foam first, then leave the pan to stand before filling the jars.
Do the jars need to be sterilised?
Yes. The method calls for the hot jam to be poured into warm sterilised jars and sealed immediately. Proper jar sterilisation is also specifically included in the recipe notes.
A Simple Blackcurrant Preserve Worth Taking Slowly
This Mary Berry blackcurrant jam recipe keeps the ingredient list short and puts the focus on timing and technique. Soften the berries before adding the sugar, dissolve that sugar completely over low heat, use the chilled-plate wrinkle test after the rapid boil, and give the finished jam its full 10-minute rest before jarring. Those few details are what turn the three basic ingredients into a rich blackcurrant jam with an even fruit distribution and a properly judged set.